


Introduction
Remote Desktop Connection is a technology that allows you to sit at a computer and connect to a remote computer in a different location. Remote desktop connection in Windows 7 has been enhanced and now it supports Aero Glass.
By default, remote desktop is not enabled in Windows 7, to enable it, follow these steps :
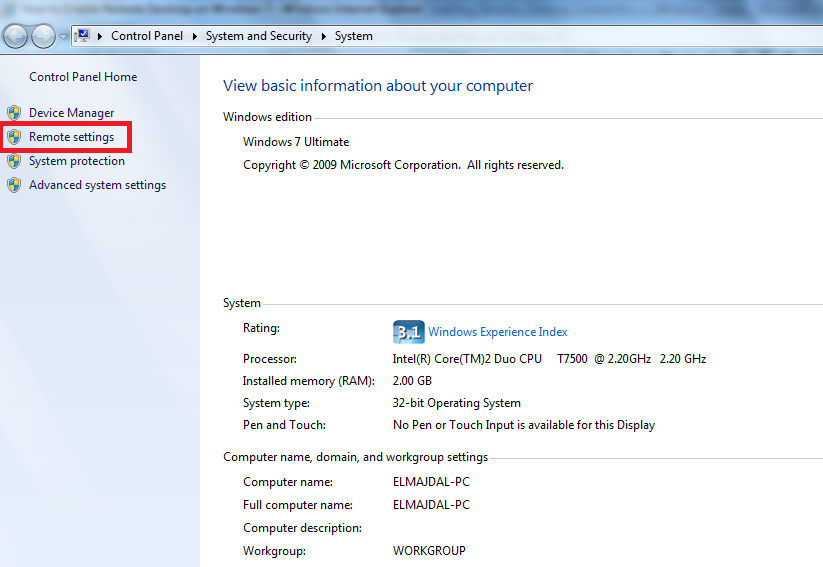
- Click on Start then right click on Computer and then click on Properties

- From the System properties page, on the left pane, click on Remote Settings

- As you can see, Remote Desktop feature is by default not enabled, and the option Don’t allow connections to this computer is selected by default.

To enable remote desktop, you have two options:
-
Select Allow connections from computers running any version of Remote Desktop (less secure) to allow people using any version of Remote Desktop to connect to your computer.
-
Select Allow connections only from computers running Remote Desktop with Network Level Authentication (more secure) to allow people with computers running versions of Remote Desktop with Network Level Authentication to connect to your computer. Network Level Authentication is an authentication method that completes user authentication before you establish a full remote desktop connection and the logon screen appears. To connect to a machine that has the Remote Desktop with Network Level Authentication option enabled, the client computer must be running at least Remote Desktop Connection 6.0 and the client computer supports the Credential Security Support Provider (CredSSP) protocol.
Select the option that you want, depending from which machines you are going to connect to your Windows 7 and then click on OK .
If you want, you can also click on the Select Users … button and specify which user(s) can connect remotely, others not listed will not be able to remotely connect. However, be informed that users who are members of the Administrators group can connect even if they are not listed.

-


Note: Remote desktop is only included in the Professional, Business and Ultimate versions of Windows. Home editions do not have remote desktop.
Establishing a Remote Desktop Connection
I will establish a remote desktop connection from my Windows XP machine to my Windows 7 laptop. Be informed that Level Network Authentication in Windows XP is disabled by default.
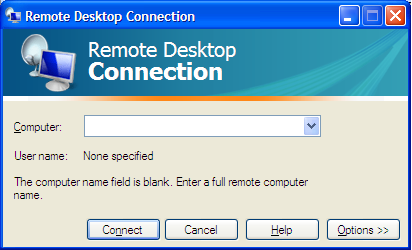
- Click on Start > All Programs > Accessories > then click on Remote Desktop Connection
- The Remote Desktop Connection will be opened

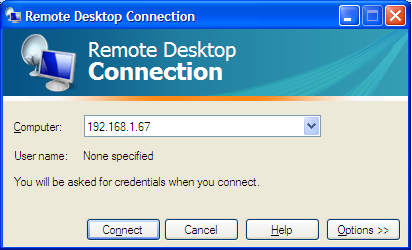
- Type the computer name or IP Address of the machine you want to remotely administer, and then click on Connect
Remote Desktop Connection will ask you if you trust the machine you are trying to establish a remote connection to it, if you do, then enable the checkbox beside Don’t ask me again for remote connection to this computer and then click Connect
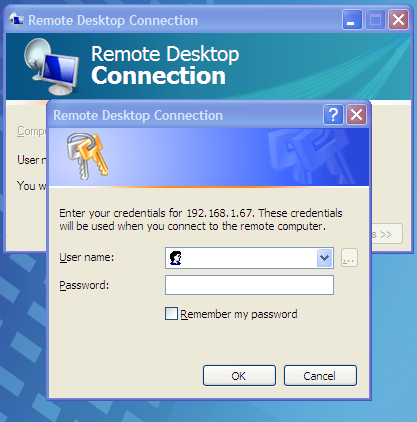
- If you have enabled Network Level Authenticated on the remote machine, then you will be asked to enter the user credentials before being able to establish a complete remote desktop connection

- Once you enter the user credentials ( these are the username and password of a user on the remote machine ), the remote desktop connection will be established
 Remote Desktop Connection will ask you if you trust the machine you are trying to establish a remote connection to it, if you do, then enable the checkbox beside Don’t ask me again for remote connection to this computer and then click Connect
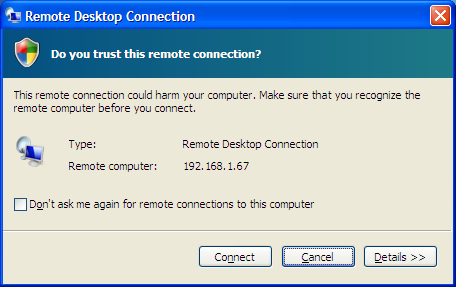
Summary
Remote Desktop is a great feature, it allows you to connect to a remote machine and work with it as if you were sitting in front of it.