


Introduction
You have created your virtual machines previously with Microsoft Virtual PC or MS Virtual Server 2005, and now you want to start working with Windows Server 2008 Hyper-V. You want to move your virtual machines to the new server and start using them with Hyper-V ? Well in this article I’m going to show you the steps required in order to successfully migrate your virtual machines from Virtual PC 2007 to Windows Server 2008 Hyper-V.
As you know, a virtual machine consist mainly of two files, a .vmc and a .vhd files. The .vmc file is the configuration file for the virtual machine, whereas the .vhd file is the virtual hard disk that is connected to the .vmc file.
I have created a virtual machine using Virtual PC 2007, and installed on it Windows XP with Service Pack 2. To move this virtual machine to Windows Server 2008 Hyper-V, we will only need its virtual hard disk file (.vhd), but before doing this, we need to follow the below steps :
-
Install the required Service Pack
Make sure to install the latest or at least the minimal required service pack for the guest (child) operating system that you are planning to migrate to Hyper-V. For example, if you want to migrate a guest virtual machine with Windows XP x86 SP1, then you will need to at least have to update it to Service Pack 2 (VM configured with 1-virtual processors only).
-
Remove the VM additions from the virtual machine before you move it over to Hyper-V Server
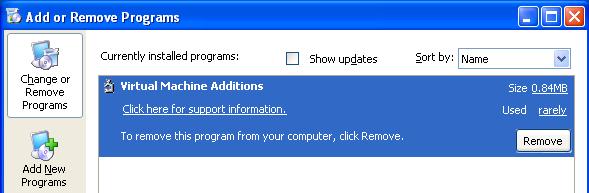
Using the Add/Remove Programs Control Panel applet, Uninstall Virtual Machine Additions
 From the list of currently installed programs, select the virtual machine additions and click on Remove. Click on Yes to confirm the removal of the Virtual Machine additions.
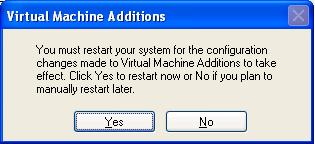
Once the Virtual Machines Additions are removed you will receive a notification box to restart your machine, Click No and then Shut Down the Virtual Machine. We are now ready to copy/move the Virtual Hard Disk (vhd) to Hyper-V.
-
Copy/Move the Virtual Hard Disk (.vhd) file to the Hyper-V Server.
As you know, the virtual machine that was used with Virtual PC has a virtual hard disk, we need to take this virtual hard disk (vhd) and use it with Windows Server 2008 Hyper-V. We need to do nothing with the Virtual Machine itself (vmc). Once the migration is successfully accomplished, and you plan to no more use the Virtual PC application, you can safely delete the .vmc file that was used with virtual pc, as with Hyper-V we will be creating a new virtual machine.
I have copied the vhd file to the D partition : D:\Hyper-V\WINXP_VPC -
Create the new virtual machine in Hyper-V and attach it to the VHD copied/moved in the previous step.
Note : If you have not installed Hyper-V yet, then read my article Installing Hyper-V and Deploying Windows Server 2008 as Your First Virtual Machine – Part I to know the steps to install Hyper-V

 I have copied the vhd file to the D partition : D:\Hyper-V\WINXP_VPC
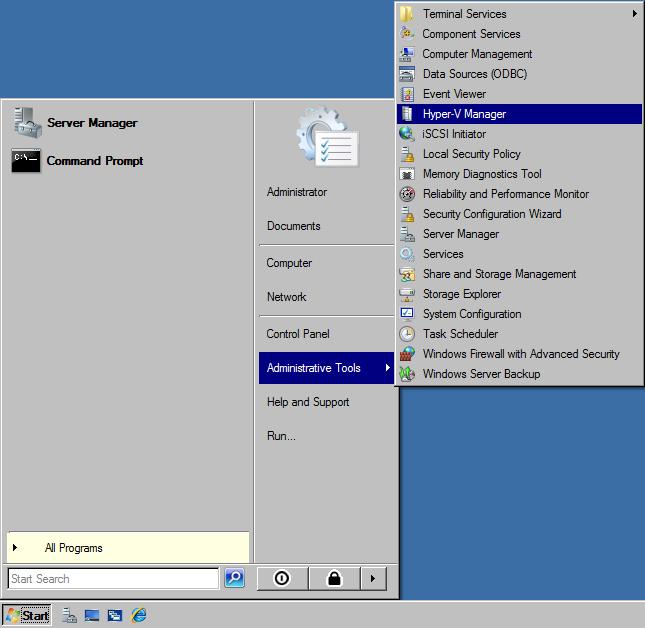
- To open Hyper-V, click on Start > Administrative Tools > Hyper-V Manager
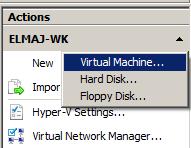
- To Create a new virtual machine, From the Menu Bar, click on Action > New > Virtual Machine, or from the right side pane, click on New > Virtual Machine
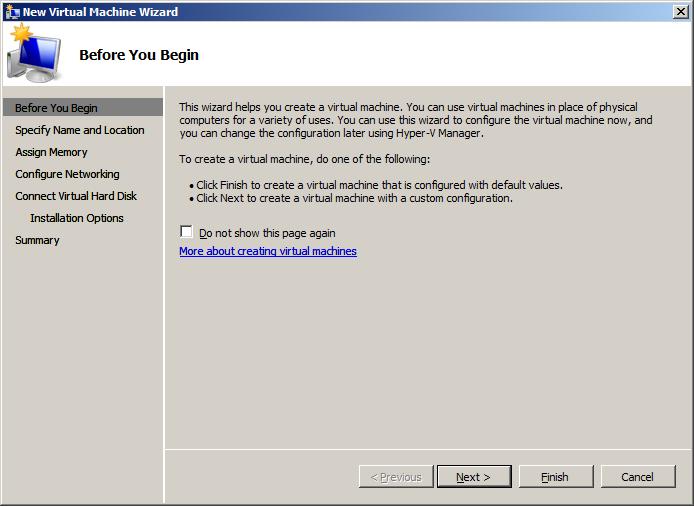
- On the Before You Begin page, click Next
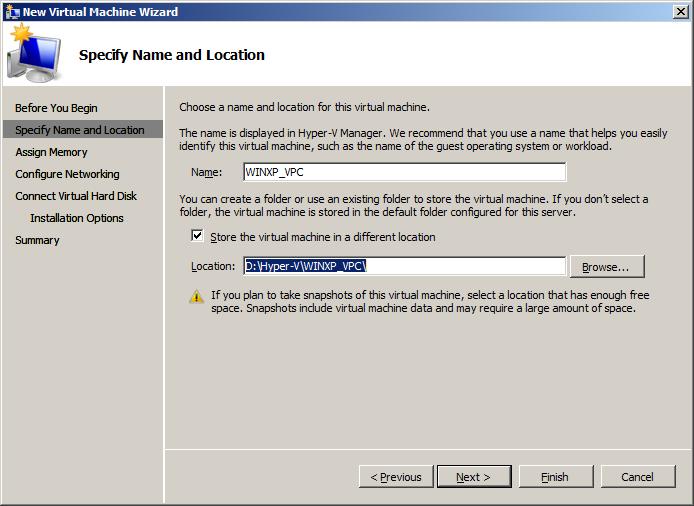
- On the Specify Name and Location page, type a name for the Virtual Machine, as for the location where the virtual machine will be stored, either keep the default location as shown, or select the checkbox beside Store the virtual machine in a different location, change it to another path and then Click Next. I will name the virtual machines as WINXP_VPC and will store it in the D drive inside the Hyper-V\WINXP_VPC folder.
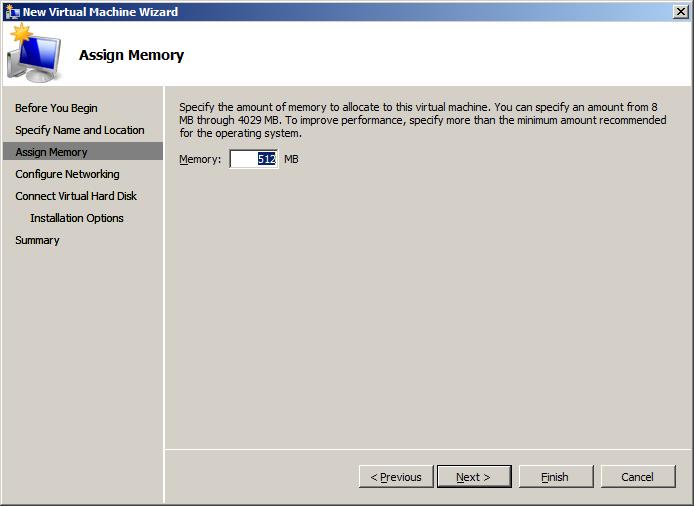
- On the Assign Memory page, specify the amount of memory to allocate to this virtual machine. Click Next
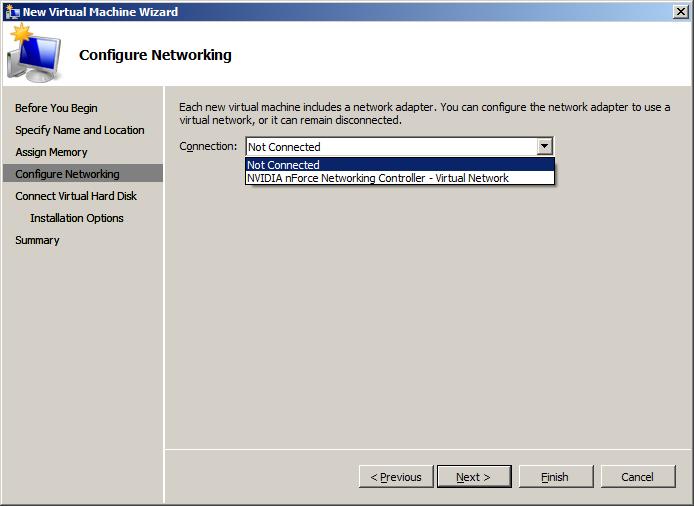
- Select a Virtual Network from the drop down list on the Configure Networking page. You can keep the virtual machine disconnected by not selecting any Virtual Network and later on you can attach a Network adapter to it, Click Next
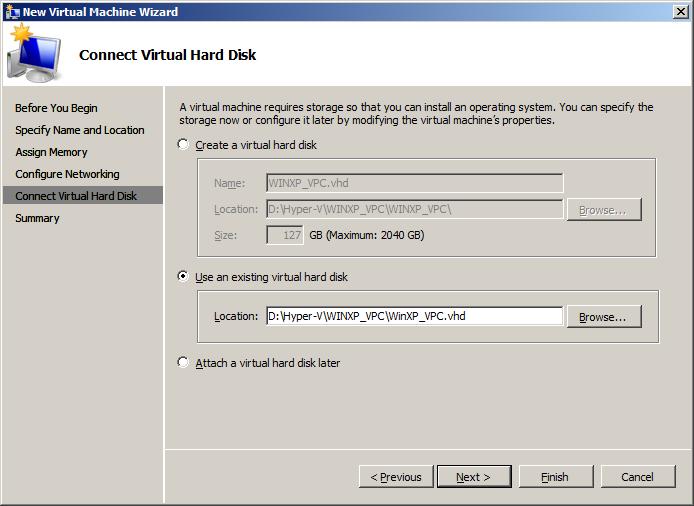
- For Every Virtual Machine, you will need to connect it to a Virtual Hard Disk, on the Connect Virtual Hard Disk page, we will use the virtual hard disk that we copied earlier to the D:\Hyper-V\WINXP_VPC folder. You can do this by selecting Use an existing virtual hard disk, click on Browse and select the WINXP_VPC.vhd file located inside D:\Hyper-V\WINXP_VPC as seen below then click Next
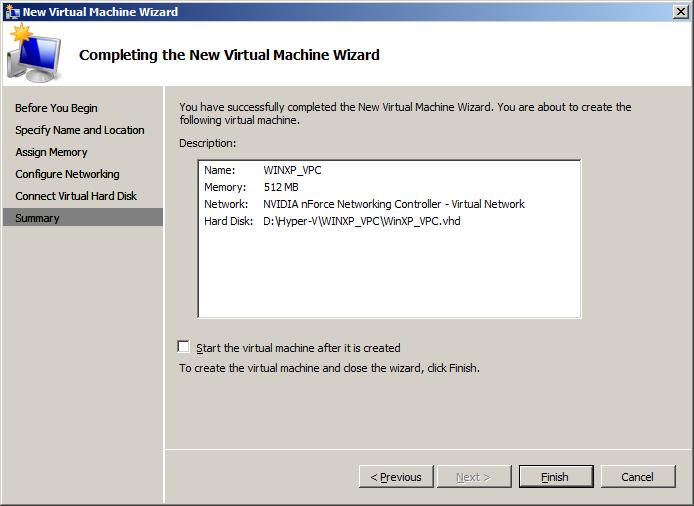
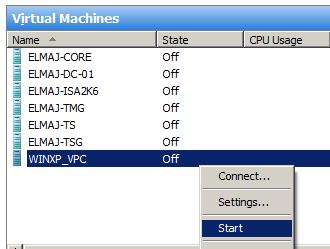
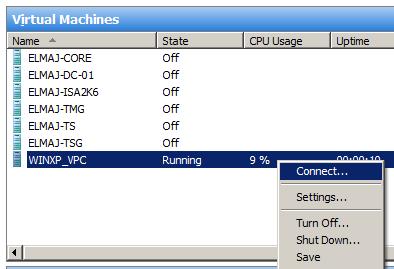
- On the Completing the New Virtual Machine Wizard page, review the new virtual machine settings and then click Finish. if you want to start the virtual machine, you can either do this by selecting the checkbox beside Start the virtual machine after it is created and then click on Finishor you can select it from the Hyper-V Manager console, right click on it and click on StartTo open the Virtual Machine, right click on it and choose Connect
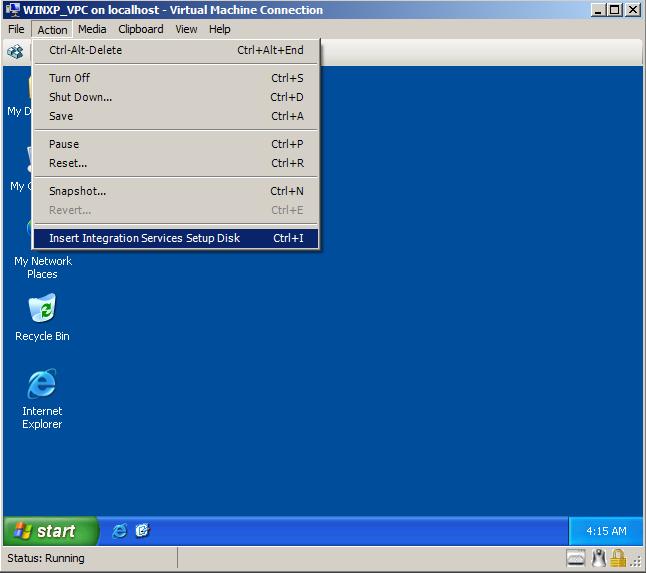
- Install the Integration Services
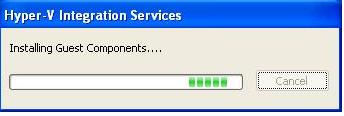
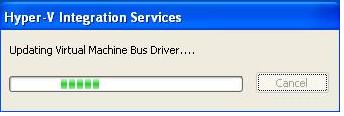
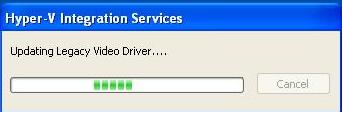
Integration Services improve integration between the virtualization server and the virtual machine(s). For example, mouse can’t move outside of the virtual machine window except you press Ctrl+Alt+Left Arrow keys. To install the Integration Services, from the Action menu, click on Insert the Integration Services Setup Disk. If Autorun does not start the installation automatically, you can start it manually navigating to the CD drive > right click on it and select AutoPlay.Multiple drivers will be installed as shown below once the Integration services installation is completed, you will be prompted to restart the virtual machine, click Yes

 once the Integration services installation is completed, you will be prompted to restart the virtual machine, click Yes
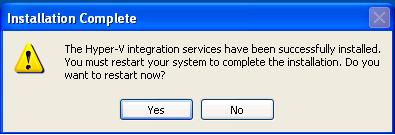
Congrats ! We are done now and have successfully migrated a guest virtual machine from Virtual PC to Windows Server 2008 Hyper-V.
Summary
In a matter of minutes, virtual machines created with Virtual PC or Virtual Server 2005 can be migrated to Windows Server 2008 Hyper-V. To be on the safe side, set a test machine and test your migrated virtual machine before relying on the converted virtual machines in a production environment.