


Introduction
In a Windows Server 2012 environment, assigning a meaningful and descriptive computer name is crucial for identification and management purposes. Whether you’re setting up a new server or need to modify an existing one, changing the computer name is a straightforward process. In this tutorial, we’ll walk through the step-by-step procedure to change the computer name in Windows Server 2012. In this article, I will show you how to change computer name using Windows Server 2012 Server Manager or Charm Bar.
To change the computer name using Server Manager
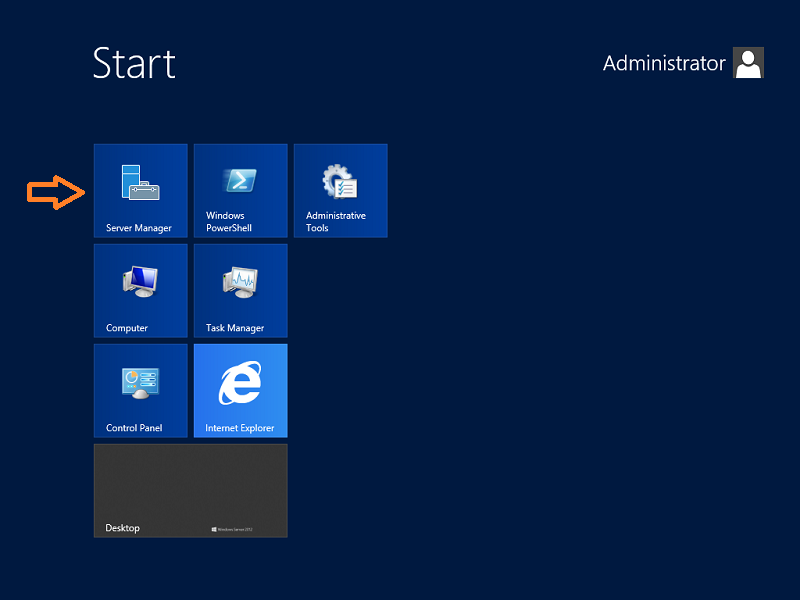
1. From the Start Screen, click on Server Manager
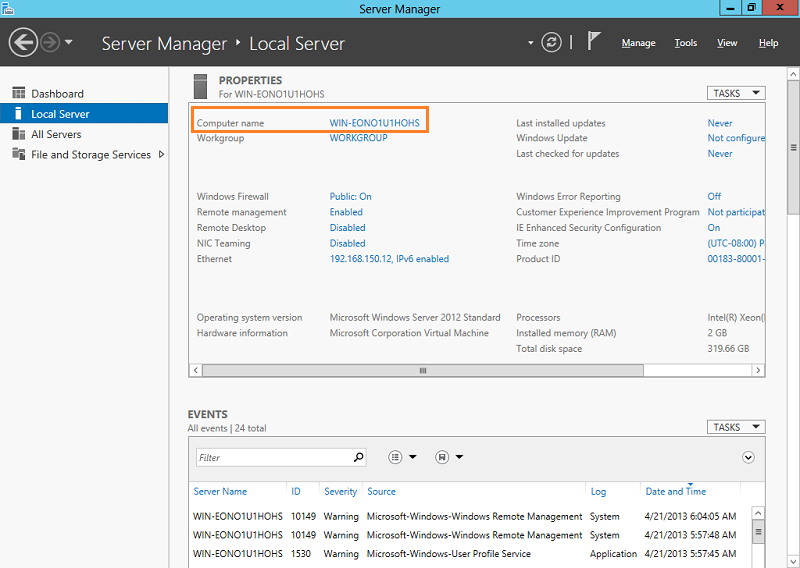
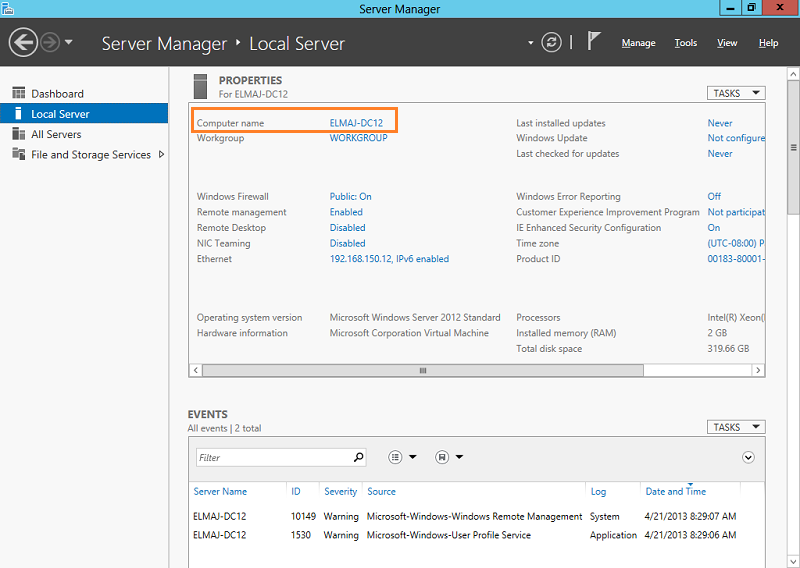
2. Server Manager will open, click on Local Server

3. Click on the the current computer name
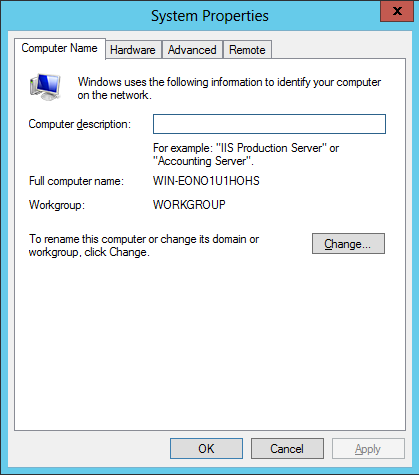
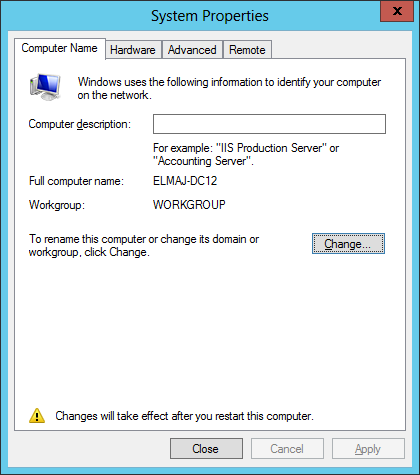
4. System Properties will open. Click on Change
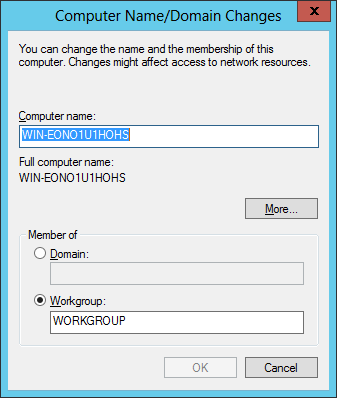
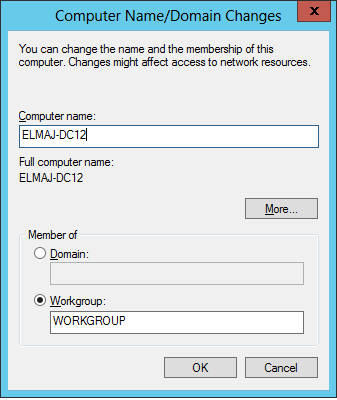
5. Type the new computer name and click on OK
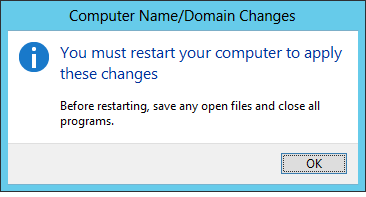
6. A dialog box will pop up informing you to restart your machine so that changes take effect. Click OK and then Click on Close.
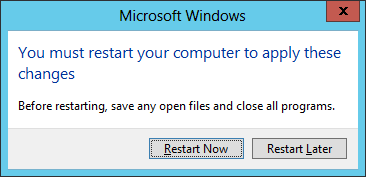
7. Click Restart Now
8. After the machine reboot, logon again and check the computer name inside Local Server
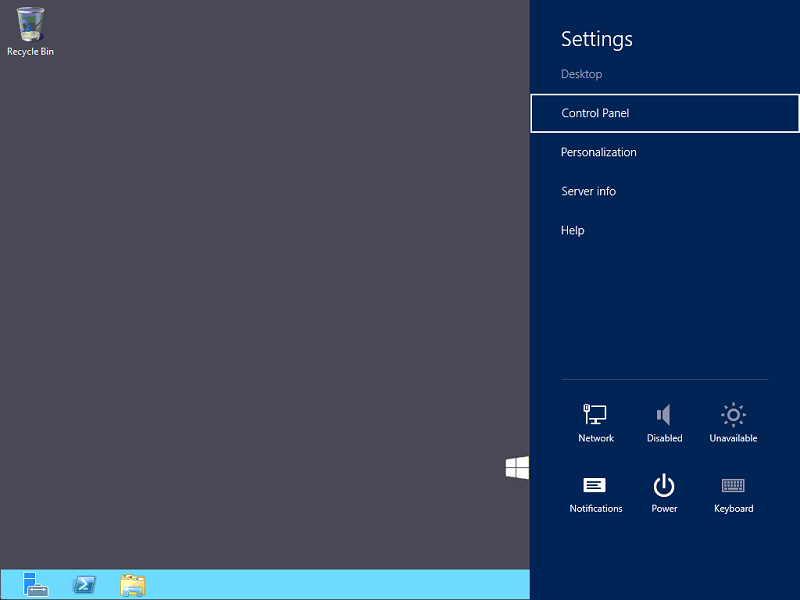
Another method to change the computer name is using the charm bar to open Server info.
1. Using your keyboard, click on both keys together : Window+i , then Click on Server info
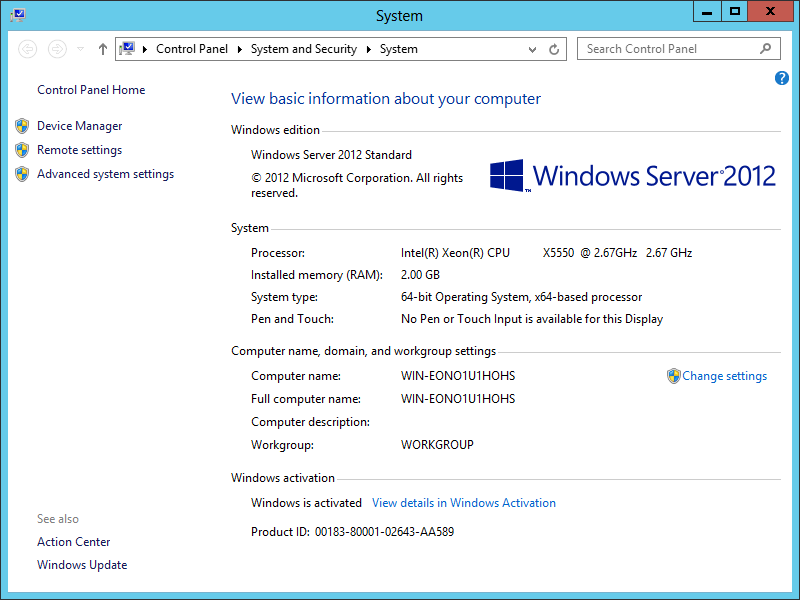
2. The System window will open. Under the Computer name, domain, and workgroup settings section, click on the Change settings option
3. System Properties will open. Click on Change
4. Type the new computer name and click on OK
5. A dialog box will pop up informing you to restart your machine so that changes take effect. Click OK and then Click on Close
6. Click Restart Now
After the server restarts, log in and go back to the Local Server tab in Server Manager. Confirm that the new computer name is displayed under the Computer name section.
Conclusion:
Changing the computer name in Windows Server 2012 is a straightforward process that can be completed through the Server Manager interface. Ensuring your server has a meaningful and easily identifiable name is essential for efficient management and organization within your network.