


Introduction
Hyper-V has always been a Windows Server Role in Windows Server 2008, Windows Server 2008 R2, Windows Server 2012, or as a Stand Alone installation using Microsoft Hyper-V Server. However, Hyper-V platform is now included in Windows 8 operating system, so are the management tools.
Windows 8 includes Hyper-V as a virtualization platform, but since not everybody will use this feature, it’s not enabled by default. Here’s how to enable it on your Windows 8 PC.
Client Hyper-V in Windows 8 supports 32-bit and 64-bit operating systems. If you are installing Hyper-V feature on a 32bit Client Windows 8, then you will only be able to install the Hyper-V Management Tools, where you will be able to remotely manage Virtual Machines installed on remote Virtual Servers.
Installing Hyper-V on a 64bit Client gives you complete control for creating and managing VMs through Hyper-V Manager which are either created locally or on remote servers.
Client Hyper-V supports multiple forms of storage, including IDE, iSCSI, SMB, and USB flash drives. Also, Client Hyper-V takes advantage of the security and management enhancements of Windows 8, such as BitLocker Drive Encryption, Secure Boot, and so on. You can install Client Hyper-V on each 64-bit device that has Second Level Address Translation (SLAT) enabled. Most modern PCs have support for SLAT. It supports as many as 12 monitors, most USB devices, wireless networks, and sleep and hibernate states. It also offers a full fidelity experience, including 3D, audio, multi-touch, and so on.
To install the Client Hyper-V on Windows 8, follow the below steps :
1. Virtualization has to be supported by your computer and enabled in the BIOS, so reboot your machine, enter into BIOS and make sure that the virtualization options are enabled.

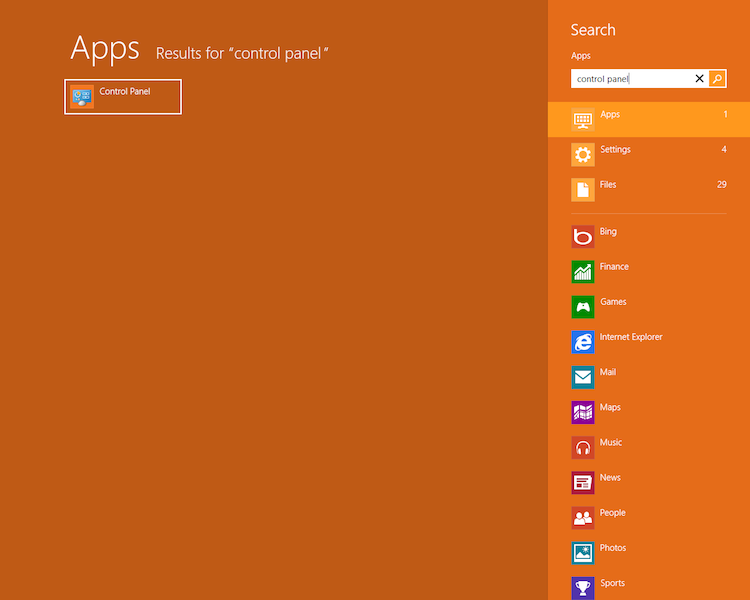
2. From the Windows 8 Start Screen, type Control Panel
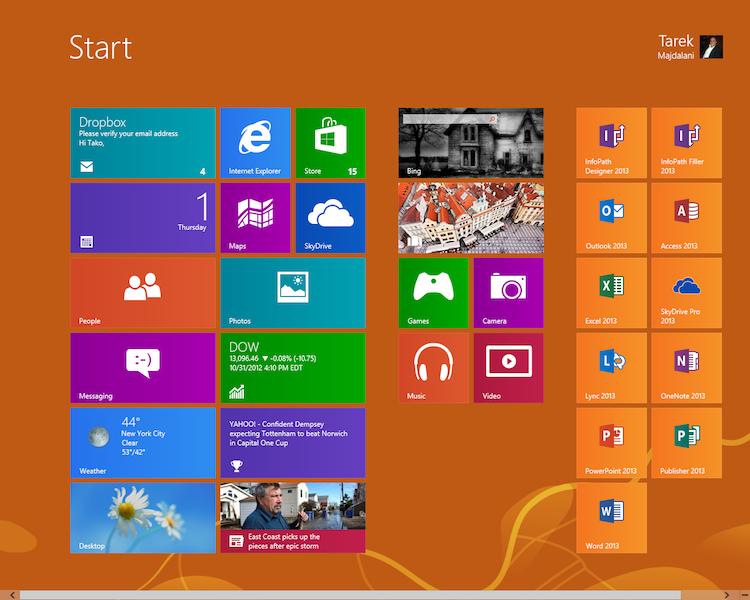
3. Click on Control Panel
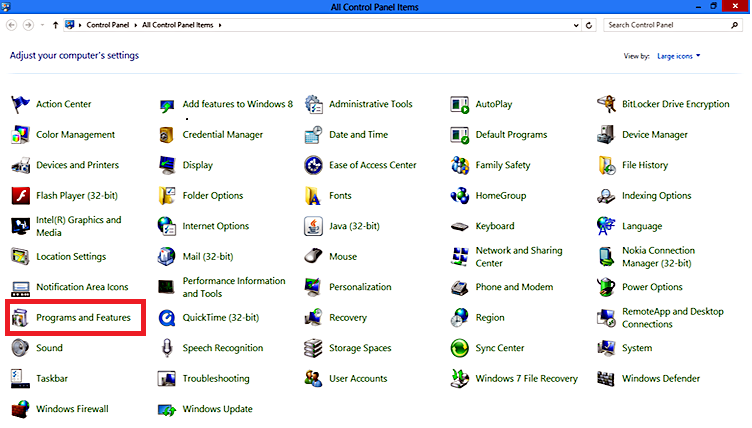
4. From the Control Panel, click on Programs and Features
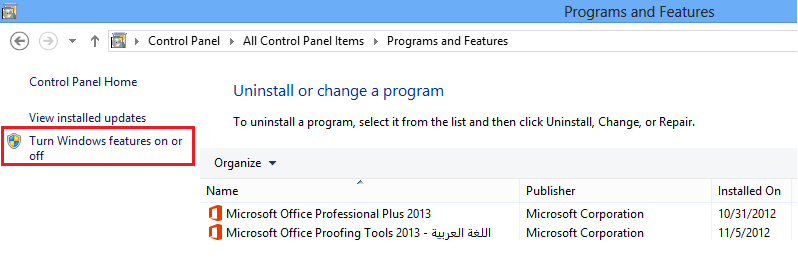
5. From the left side pane of the the Programs and Features window, click on Turn Windows features on or off.
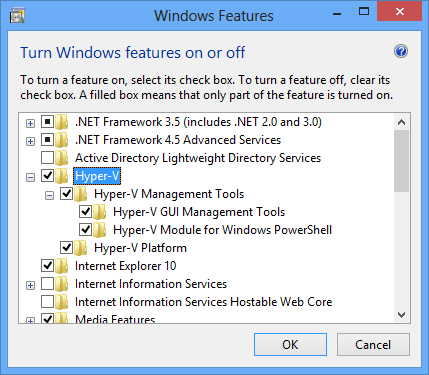
6. When the Windows Features open, check the Hyper-V option. Then click OK.
The two sub-options are Hyper-V Management Tools and Hyper-V Platform
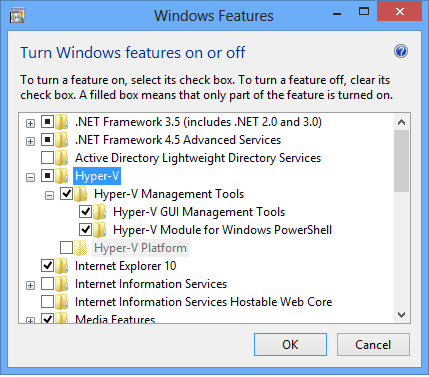
Note : If you are installing Hyper-V feature on a 32bit Client Windows 8, then you will only be able to install the Management Tools, and the Hyper-V Platform will be grayed as shown in the below snapshot. This is the same true if Virtualization is not supported or not enabled from the BIOS.
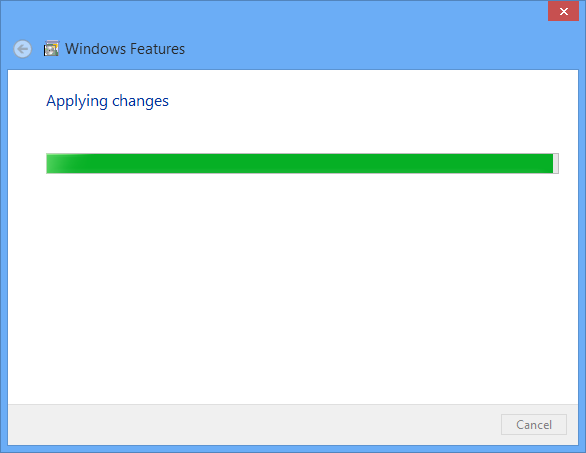
7. The selected feature(s) installation will start, the Hyper-V binaries will now be added to your Windows installation.
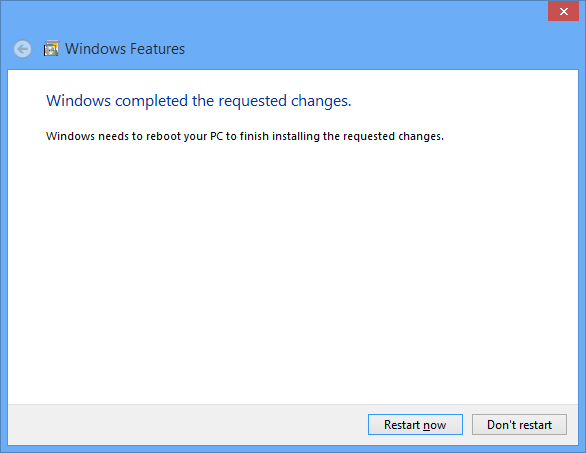
8. Once Hyper-V is enabled, you must fully shut down and restart your computer to complete installation. Upon restart, you will be able to create and manage VMs through Hyper-V Manager or the Hyper-V Module for Windows PowerShell. You can also use Virtual Machine Connection to remotely connect to VMs
To enable Client Hyper-V using Windows PowerShell:
In the Windows PowerShell command line, type the following:
Enable-WindowsOptionalFeature-Online-FeatureName Microsoft-Hyper-V
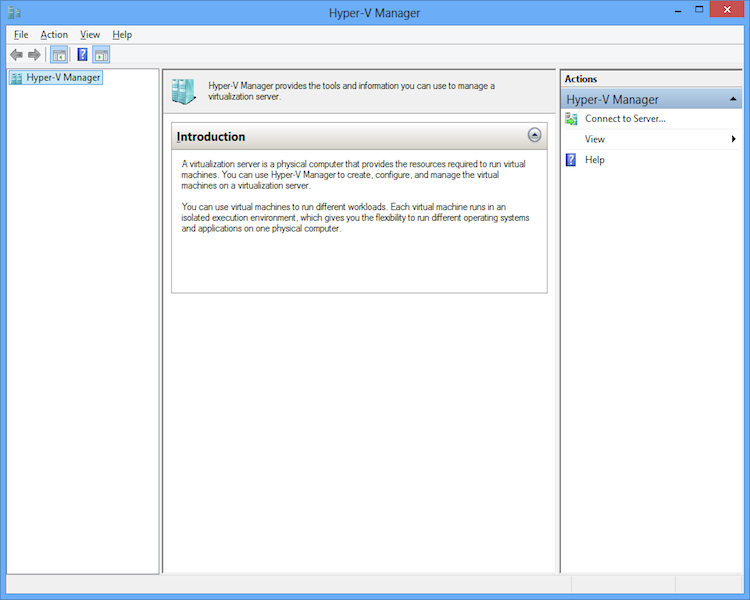
9. The Hyper-V Manager and the Hyper-V Virtual Machine Connection tool will be located in the Start Screen

10. With the Hyper-V manager , you will be able to create and manage VMs, you can also be able to remotely connect to Hyper-V Servers
If you own a Windows 8 32bit Client, then the Hyper-V platform will not be installed, hence you will not be able to create VMs. Only the management tools will be installed where you will be able to connect to a remote Virtual Server.
Summary
Hyper-V is now part of Windows 8, however, it is not enabled by default. Once installed, you can use Hyper-V manager to create and manage Virtual Machines.