

Introduction
On February 16-02-2011, Microsoft made Windows 7 SP1 and Windows Server 2008 R2 SP1 available for TechNet and MSDN subscribers.
On 22-02-2011, they became publicly available for everybody. In this article, I will be showing you how to download and install Windows 7 SP1, either by using Windows Update or from Microsoft Download Center.
Windows 7 Service Pack 1 (SP1) is an important update that includes previously released security, performance, and stability updates for Windows 7. SP1 also includes new improvements to features and services in Windows 7, such as improved reliability when connecting to HDMI audio devices, printing using the XPS Viewer, and restoring previous folders in Windows Explorer after restarting.
In order to download and install Windows 7 and Windows Server 2008 R2 SP1 you must currently have a Release to Manufacturing (RTM) version of Windows 7 or Windows Server 2008 R2 already installed. If you have previously installed a pre-release version of Windows 7 and Windows Server 2008 R2 SP1 on your machine, you must uninstall that version before installing SP1.
You can download and install Windows 7 SP1 using either Windows Update or from the Microsoft Download Center. It is recommended to download it and install it using Windows Update. However, in this article, I will be showing you both ways, and the steps you need to take into consideration if you decided to install it using the Microsoft Download Center.
Please remember, that its always recommended to back up your machine. If you want to backup your windows 7 before applying SP1, then check my article : Back Up Windows 7 by Creating a System Image
Before installing SP1, you need to check if Windows 7 SP1 is already installed. To do this, read my article How to Check if Service Pack One for Windows 7 is Installed or Not
Downloading SP1 from Windows Update
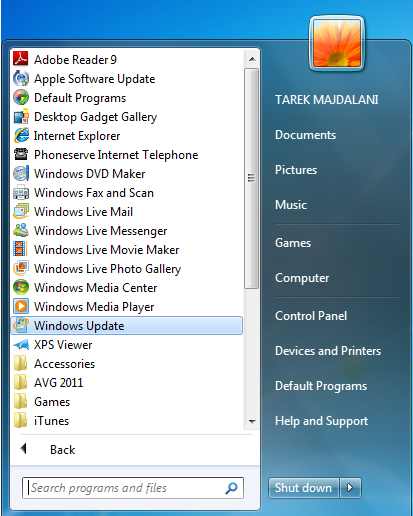
- Click the Start button , click All Programs, and then click Windows Update.

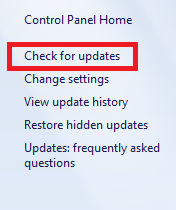
- In the left pane, click Check for updates.

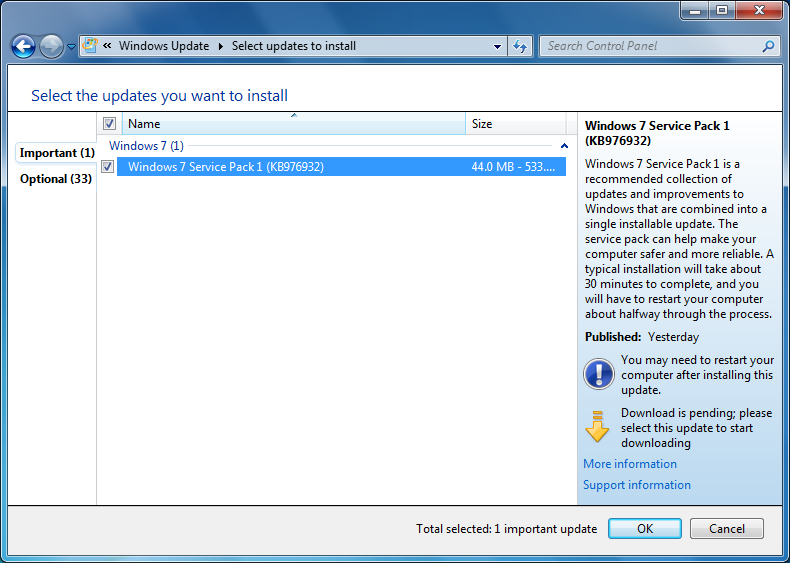
- Click on important update link, and then select Service Pack for Microsoft Windows (KB976932), and then click OK.


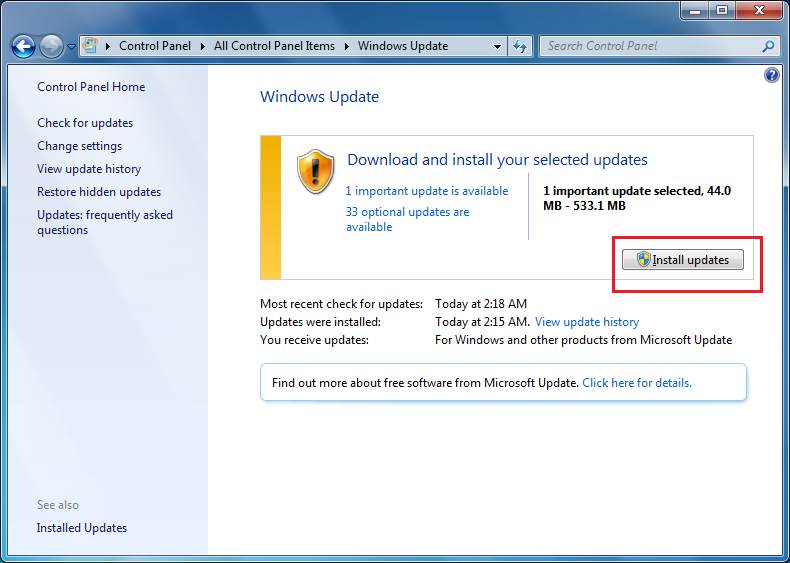
- Click Install updates. If you’re prompted for an administrator password or confirmation, type the password or provide confirmation.
- After the installation is complete, you will be prompted to reboot your machine. Click on Restart now

- Log on to your computer, you will receive a notification indicating the update was successful. Click Close


Downloading and Installing Windows 7 SP1 from Microsoft Download Center
Before installing SP1 from Microsoft Download Center, you need to install Windows Update KB2454826 from Windows Update if it is not already installed. If you install the service pack from the Microsoft Download Center and do not install Windows Update KB245862, you could encounter a Stop error in Windows in rare cases.
Windows Update KB2454826 will automatically be installed when you install the service pack by using Windows Update. However, Windows Update KB2454826 is not automatically installed when you install the service pack from the Microsoft Download Center.
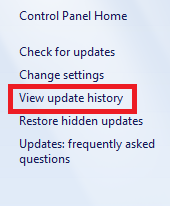
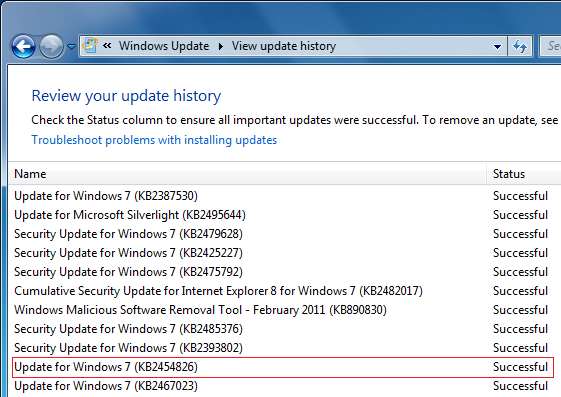
To check whether Windows Update KB2454826 is installed, Open Windows Update and click on View update history from the left pane. Notice whether Update for Microsoft Windows (KB2454826) is listed. If the update is not listed, you will have to install it from Windows Update. If its already listed, then carry on with the installation of SP1 from Microsoft Download Center.
To Download Windows 7 SP1 from the Microsoft Download Center, get it from this URL : https://www.catalog.update.microsoft.com/Search.aspx?q=KB976932
- If you have a 32-bit Windows 7, then download Windows 7 Service Pack 1 (KB976932) , if you have a 64-bit Windows 7 , then download Windows 7 Service Pack 1 for x64-based Systems (KB976932)
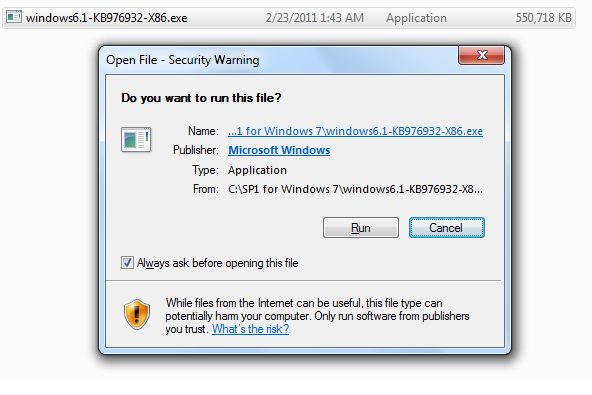
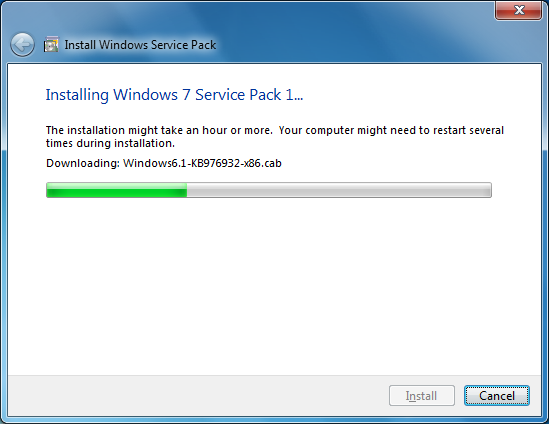
Windows 7 Level Required Service Pack Installation File 32-bit Windows 7 windows6.1-kb976932-x86_c3516bc5c9e69fee6d9ac4f981f5b95977a8a2fa.exe 64-bit Windows 7 windows6.1-kb976932-x64_74865ef2562006e51d7f9333b4a8d45b7a749dab.exe - After you click on Download, you will be the option to run it without saving it, or you can save it on your PC and then double click on it to start the installation. I have downloaded the 32-bit SP1After download is completed, double click the downloaded file ,if you’re prompted for an administrator password or confirmation, type the password or provide confirmation.

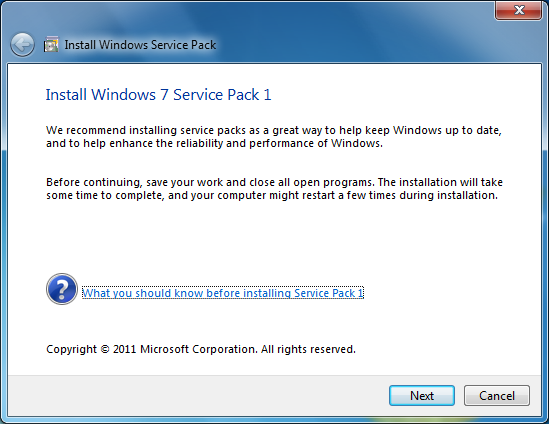
- The Install Windows 7 Service Pack 1 page will open , click Next
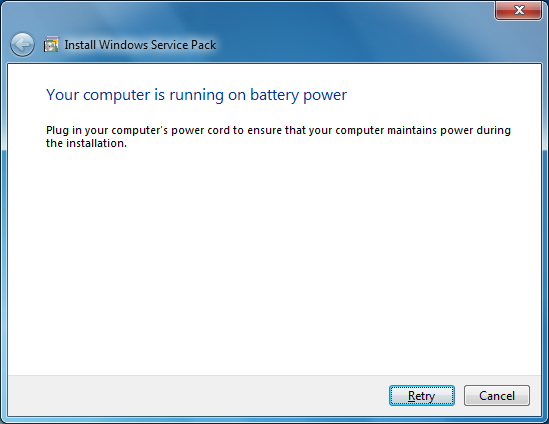
- If you are using a laptop, make sure its connected to a power adapter, else the installation will stop.
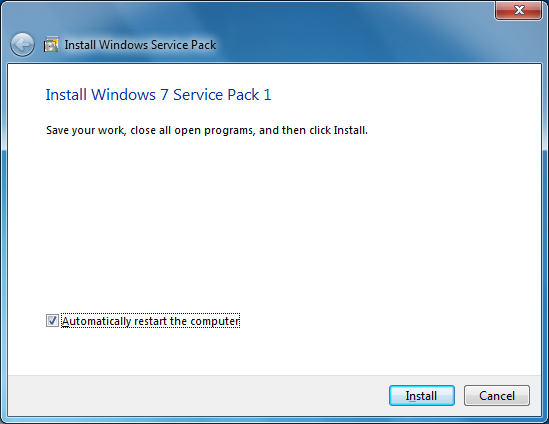
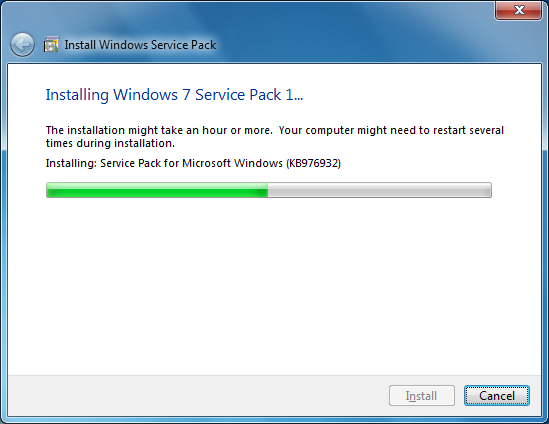
- SP1 is now ready to be installed, as you can see, the checkbox beside Automatically restart the computer is selected by default, so make sure that you close other running programs and save you work. If you don’t want the system to be restarted automatically after SP1 is installed, then unselect this checkbox. Once ready, click Install
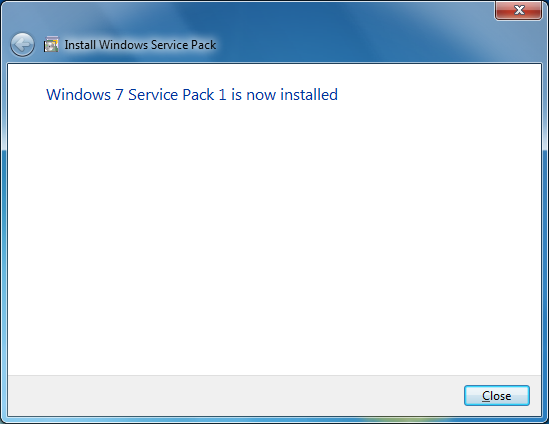
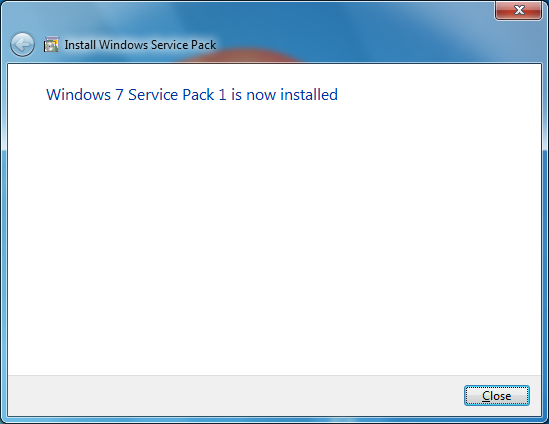
- After the installation of SP1 is completed, your system will be rebooted. Once you logon back to you machine, a page will automatically open and inform you that Windows 7 SP1 is now installed successfully.
Summary
Its is recommended to download and install Windows 7 Service Pack 1 (SP1), it is an important update that includes previously released updates for Windows 7. You can download and install Windows 7 SP1 either from Windows Update or Microsoft Download Center.