


Introduction
On the 20th of July 2011, Apple released Mac OS X 10.7 to the public and it became available on the App Store for only 29.99 $ . If it happens that you bought a new Mac machine between the 6th of June 2011 and the 21st of July, then you are entitled to have MAC OS X Lion for free , as your computer was shipped with OSX Snow Leopard.
To upgrade/ Install OS X Lion, you should have the following prerequisites:
-
Intel Core 2 Duo, Core i3, Core i5, Core i7, or Xeon processor
-
2GB of RAM
-
Latest version of Snow Leopard ( 10.6.6 or later )
-
At least 4GB of additional disk space to accommodate the download, but more is obviously recommended
- If you bought a new Mac between June 6, 2011 and July 20, 2011, don’t buy Lion from the App Store yet, because you qualify for a free download of Mac OS X Lion, directly from Apple. All you need to do is visit Apple’s Up-To-Date page to claim your copy, just be sure you have your Macs Serial Number, date of purchase, and place & location of purchase ready. Visit : OS X Lion Up to Date Program Once you are done, an email will be sent to you that contains Mac OS X Lion Content Code, which will be used in the App Store to download OS X Lion for free. ( If you want to download the installer manually, then click this link : Mac OS X Lion Installer )


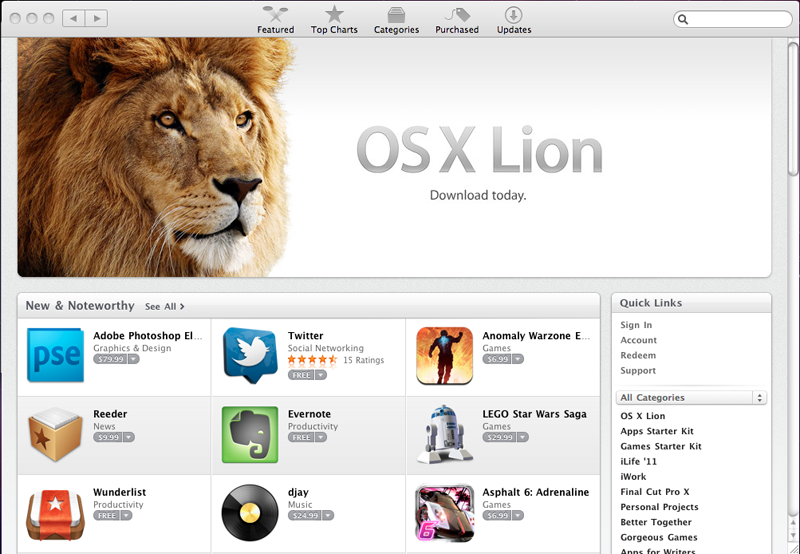
2. To Redeem OS X Lion , open Apple Store.
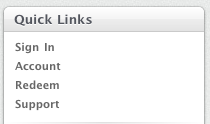
3. click on the Redeem option from the right side, under Quick Links
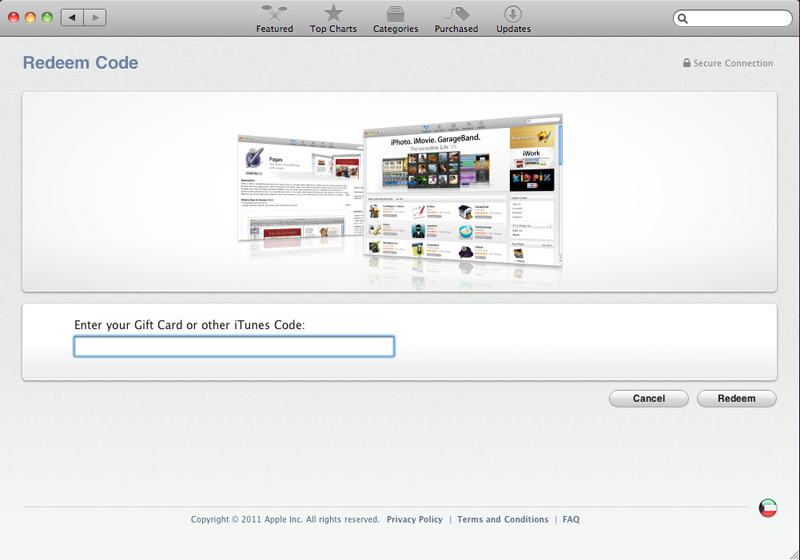
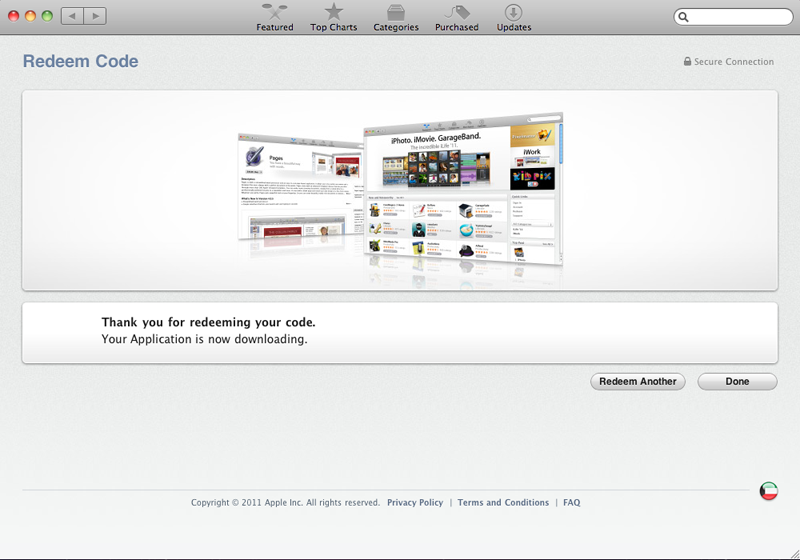
4. on the Redeem Code page, type or paste the Mac OS X Lion Content Code, which you received previously by email from Apple, inside the code Textbox and then click on the Redeem button
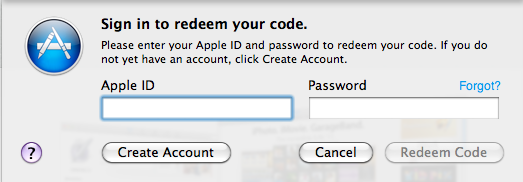
5. You will be requested to enter your Apple ID and password, if you don’t have a username and password, then click Create Account, once your credentials are typed, click on the Redeem Code Button
6. A Thank you message will appear and MAC OSX Lion will start downloading and will appear in the Dock
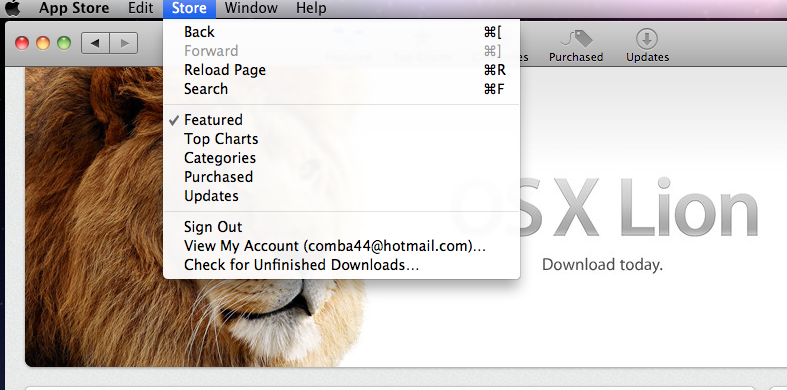
7. To view how much time remaining till the download is completed, click on the Purchased option inside the App Stores

or using the Menu bar, and while the App Store window is active, click on Store , then click on Check for Unfinished Downloads
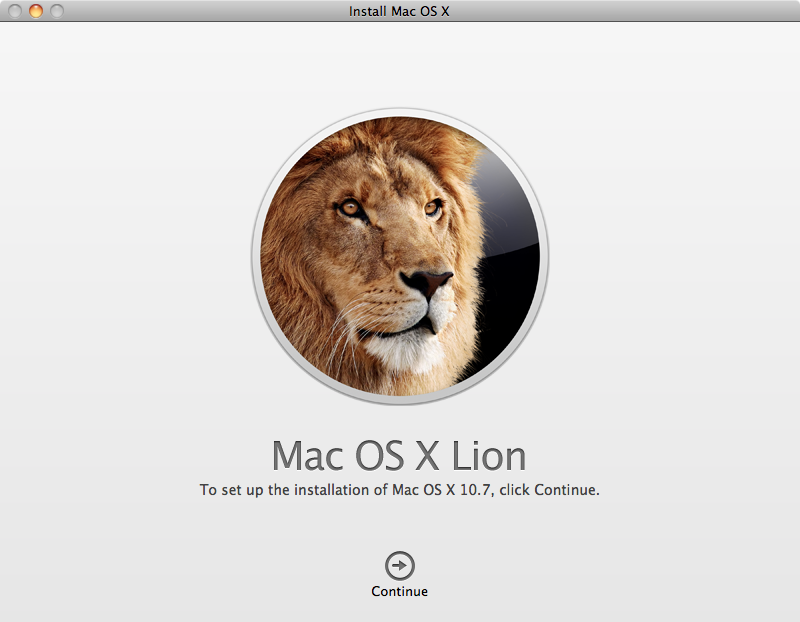
8. When the download is completed, the Install Mac OSX page is automatically opened, click Continue
9. On the software license agreement page, click on Agree
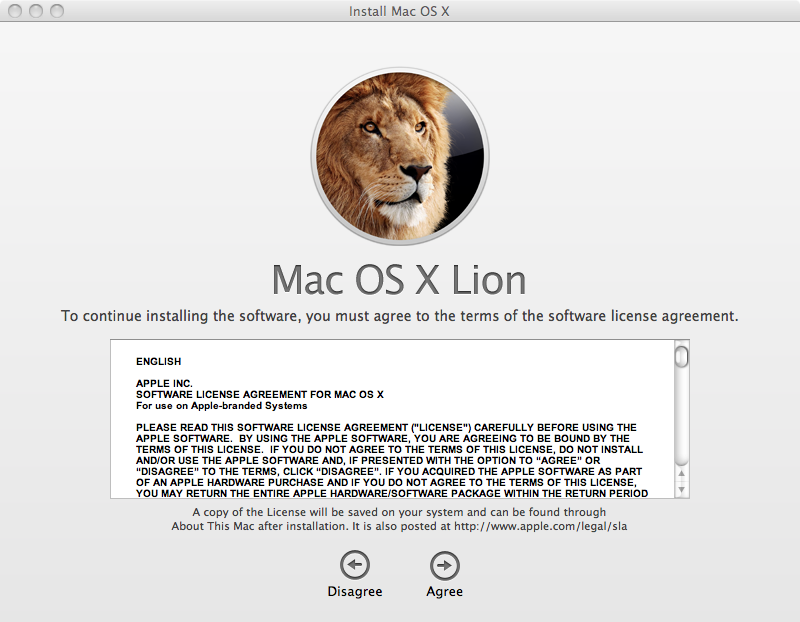
10. A confirmation page that you have read the license agreement terms will pop up, Click Agree

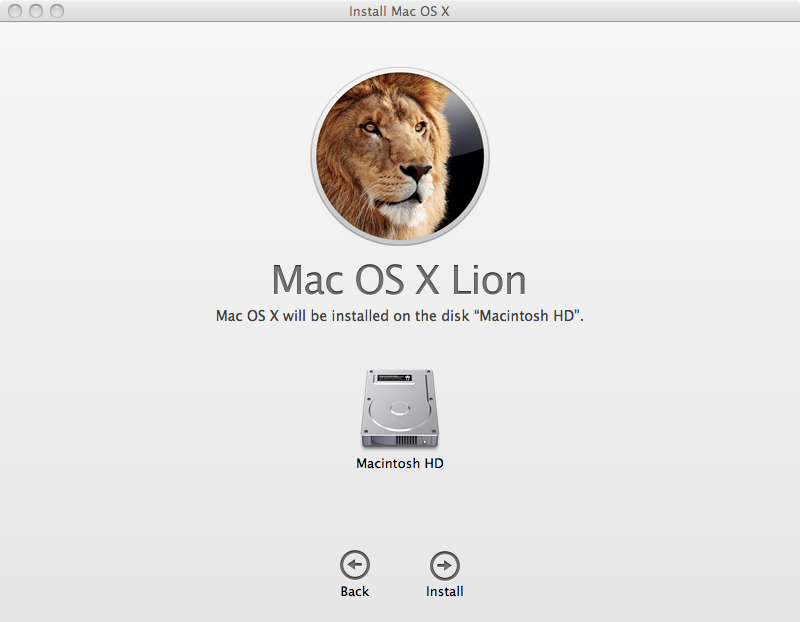
11. If you have multiple hard disks inside your Apple workstation, then you will be asked on which hard disk you want to install OS X Lion, if you have only a single hard disk, like in my case I’m installing Lion on a MacBook Pro Laptop and there is only a single hard disk inside it, then the installation wizard will select that hard disk by default, click Install
12. You will be asked to type administrative credentials. If your account is an administrator account,
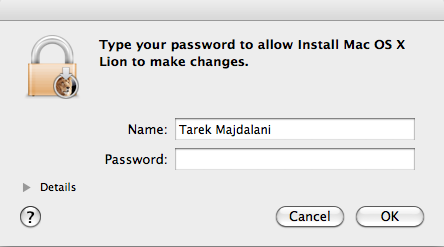
then type your password and click OK
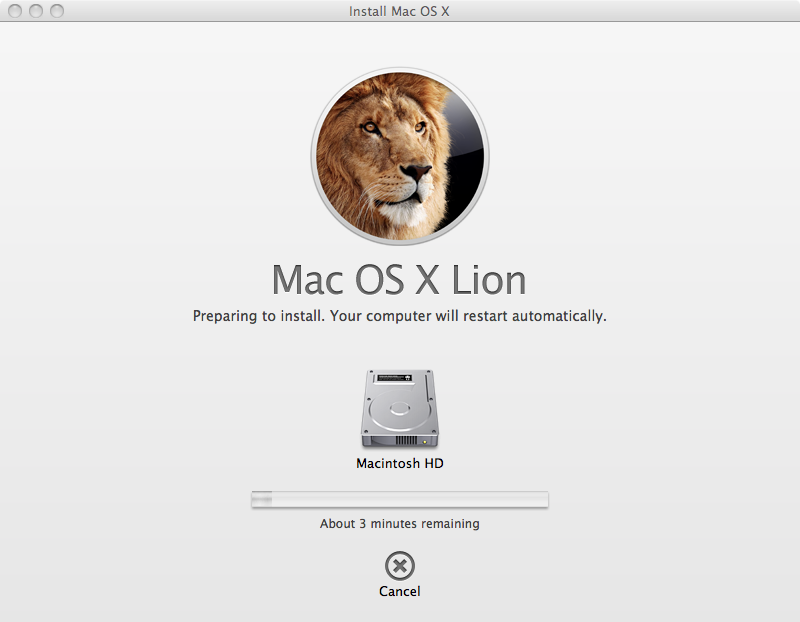
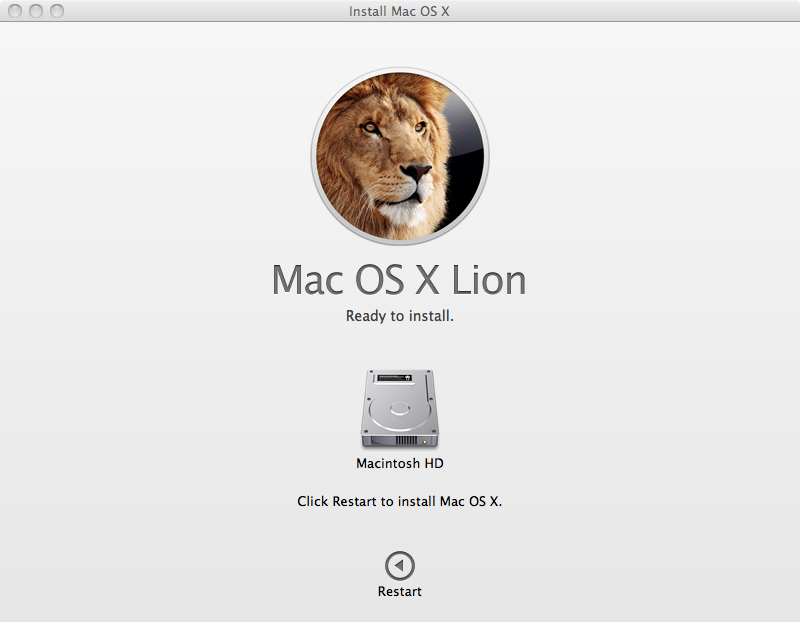
13. The machine will be prepared for installation, once its ready you will be asked to Restart the machine, click on Restart
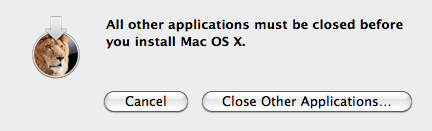
14. You will be asked to close all other apps, click on Close Other Applications… All opened application
will be closed and the machine will be restarted
15. After installation is completed, your machine will be rebooted.
16. After startup, Mac OS X Setup Assistant will be launched, close it if you want, or swipe with your two fingers as illustrated and click on Start Using Mac OS X Lion
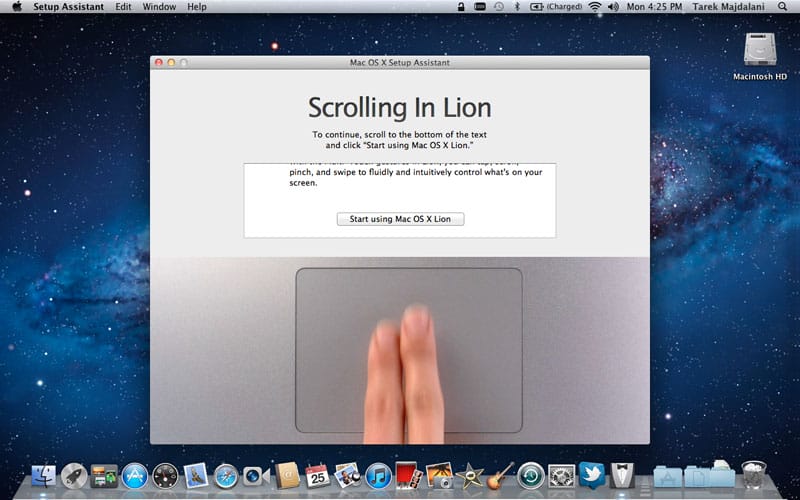
As you will notice , your Mac now has a new background

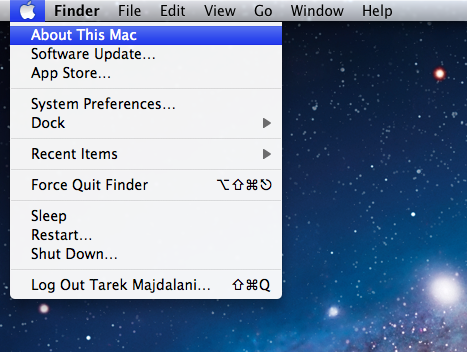
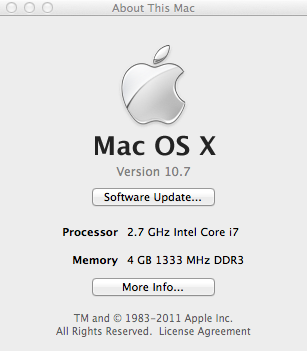
and to confirm that this is Lion, click the Apple Logo and then click on About This Mac, you will see now you have Version 10.7
Enjoy it .
Summary
Installation of Mac OS X Lion is straightforward, the upgrade process from OS X Snow Leopard to OS X Lion is easy.