

Introduction
ISA Server 2000/2004/2006 have always been a 32 bit edition software. However, Forefront Threat Management Gateway 2010 is not supported on a 32bit server operating system and now its natively a 64 bit software and can only be installed on Windows Server 2008 64bit or Windows Server 2008 R2. How about if I want to remotely manage TMG 2010 from a client machine ? Specifically from a 32 bit client machine !! In this article I will be showing you how you can remotely manage TMG 2010 from a 32 bit client using TMG Management Console for x86 operating system.
If you tried to install the TMG management console only on a 32 bit (x86) client machine, the installation will be stopped and report an error. This is because TMG is natively a 64 bit application and cannot be installed on a 32 bit client machine. What you will need to do is to download the management console of TMG 2010 for 32 bit client.
After the registration page is completed, you will be redirected to the download page as shown below.
The first installer,TMG_ENU_EE_EVAL_AMD64.exe, is an evaluation version of TMG 2010 Enterprise Edition, whereas the last installer, TMG_ENU_SE_EVAL_AMD64.exe, is an evaluation version of TMG 2010 Standard Edition. The second installer,TMG_ENU_Management_x86.exe , is what you need, and this is the management console only for TMG 2010 for 32 bit operating systems.

Note : TMG Management Console can be installed on Windows Vista SP1 or higher, Windows 7 or Windows Server 2008 SP2. It can not be installed on Windows XP .
- Download TMG_ENU_Management_x86.exe and store it on your client desktop. Once the download is complete double click on it to install the management console for TMG 2010.

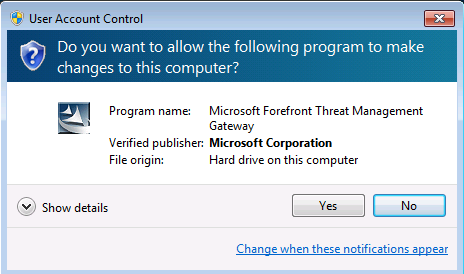
If you have User Account Control enabled, then you will be asked if you want to allow running this executable, click Yes

- On the Welcome to the Install Shield Wizard for Microsoft Forefront Threat Management Gateway page, click Next

- On the Location to Save Files page, you are given the choice where the installer would extract the setup files. The default location is C:\Microsoft Forefront TMG, if you want to change the extraction location, click on Change… button and browse to a different destination folder, the new location will be displayed inside the textbox below Save files in folder : , then Click Next

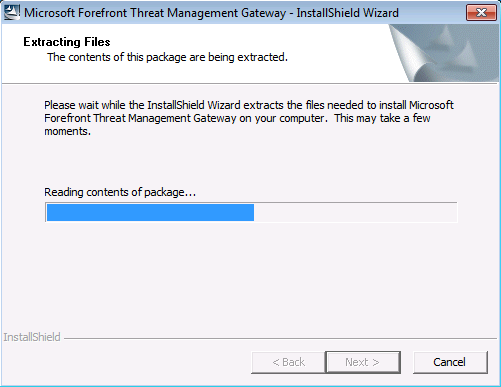
Extracting the setup files will begin

- Once setup files are extracted, the autorun.hta file will automatically be launched, click on Run Installation Wizard
 Again, if UAC is enabled, click Yes
- On the Welcome to the Installation Wizard for Forefront TMG Enterprise page, click Next . Don’t worry , this is the management console, not only for Enterprise Edition, but its also useable for Standard Edition.


- On the License Agreement page, accept the License terms and then click Next

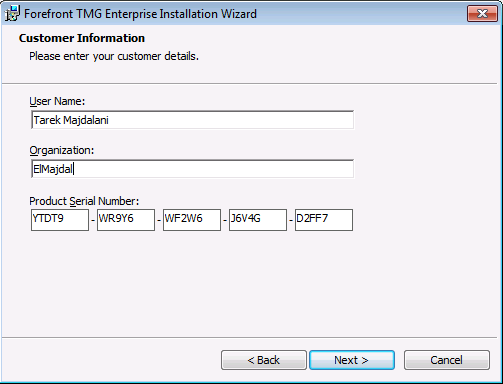
- On the Customer Information page, enter your information and then click Next. As you have noticed, the Product Serial Number is already entered, as this is a management console only.

- On the Setup Scenarios page, you will be informed that only the management console for Forefront TMG is going to be installed. Click Next

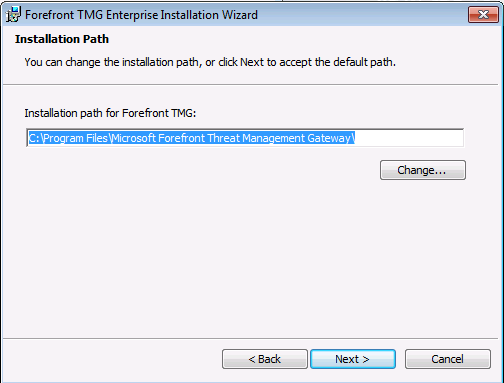
- On the Installation Path page, click Next if you want to leave the default installation path where the Management console files will be installed on your machine, or change the default location by clicking on Change.. and browse to a new destination folder.

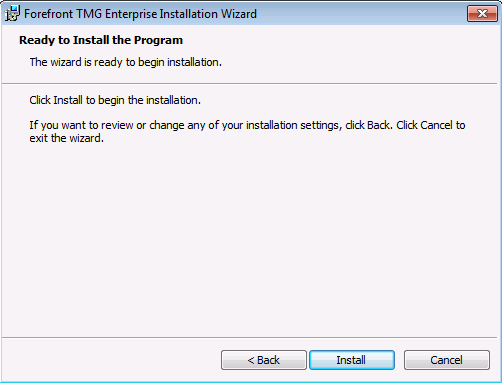
- On the Ready to Install the Program page, click Install

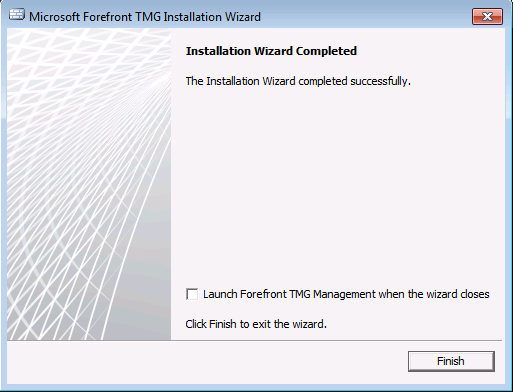
- Once you receive the Installation Wizard Completed page, you are given the option to launch the management console by selecting the checkbox beside Launch Forefront TMG management when the wizard closes , select this checkbox and click on Finish .

- A secure.htm page will be automatically launched, where you can read it for few moments. Close it once you are done reading it.
- The management console will also be opened. On the right side pane, under the Tasks tab, click on Connect. Be informed that in order to remotely connect to a TMG server, you must first have added the client machine IP address to the Remote Management Computers computer set . The Instructions are illustrated at the bottom of this article

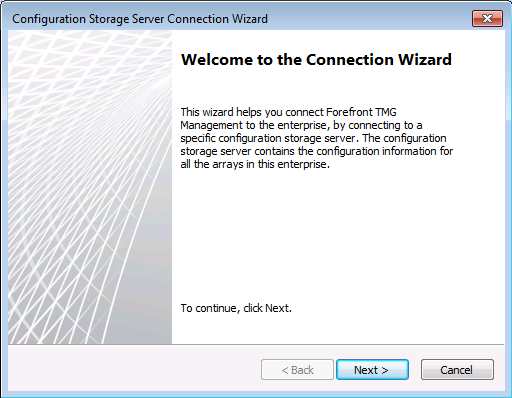
- On the Welcome to the Connection Wizard page, click Next

- On the Configuration Storage Server Location page, enter the FQDN of your remote TMG server or browse to it. You can type the IP address of the remote TMG server as well instead. Then click on Next

- Type the required credentials to connect to the remote TMG server. If the logged-on user has the required access privilege to connect to the remote TMG server, choose Credentials of the logged-on user. If you are on a workgroup computer and need to connect to a TMG server that is joined to a domain, then select the Credentials of the following user, enter the domain username and password, and inside the domain textbox, type the domain name, then click Next

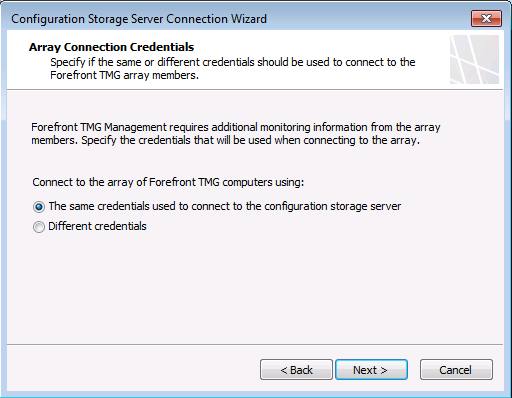
- If you are connecting to arrays, you can provide a different credentials (username, password and domain ) or connect using the same credentials used to connect to the configuration storage server. Make up your choice and then click on Next
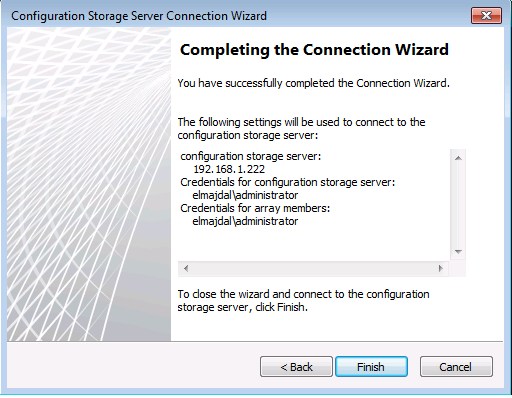
- On the Completing the Connection Wizard page, review the summary of the settings that will be used to connect to the remote TMG server, if you need to make any changes, click on Back and perform the changes, else start connecting to TMG by clicking on Finish
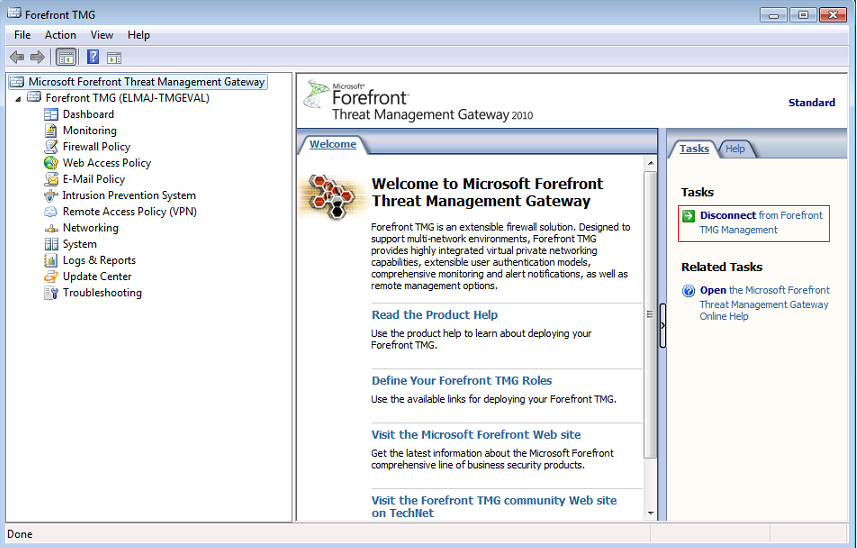
- The management console will connect to the remote TMG server, and now you can start working on the console as if you were sitting in front of the TMG server itself. Once you are done with remotely managing a TMG server, click on Disconnect from Forefront TMG Management located at the right pane under the Tasks tab.


 Again, if UAC is enabled, click Yes
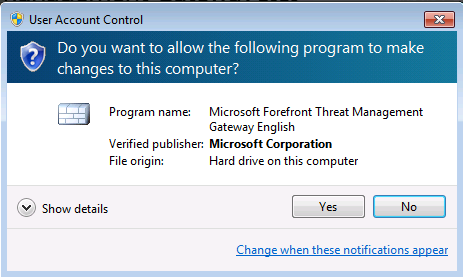


Adding a Client Machine IP Address to the Remote Management Computers computer set ( Requirements for Step # 13 above )
TMG comes with predefined set of policies, called the System Policy. One of these policies is for allowing remote management of TMG server. What you will need to do is to add the required computer, address range or subnet to the Remote Management Computers computer set so that you can be able to connect remotely to the TMG Server. I have previously written a complete step by step article on this topic, you can find the article here : Administrating ISA Server 2006 Remotely Using MMC and Remote Desktop Connection
Below is a quick step by step for this task:
-
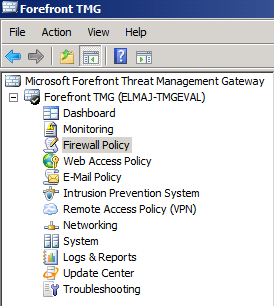
From the left side pane, click on the Firewall Policy node

-
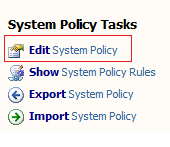
On the right side pane, under the Tasks tab, click on Edit System Policy

-
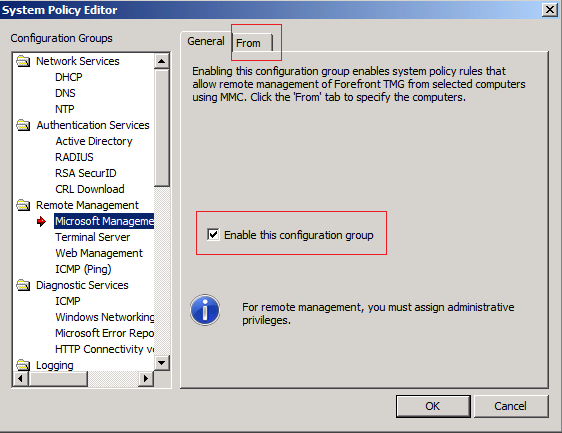
The System Policy Editor will open, from the left side, under the Remote Management node, click on Remote Management (MMC). make sure the checkbox beside Enable this configuration group is enabled, and then click on the From tab

-
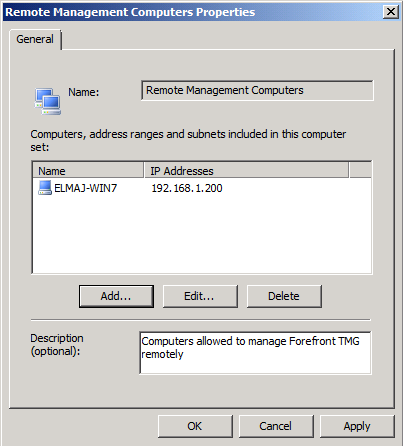
Select the Remote Management Computers computer set, and then click on Edit

-
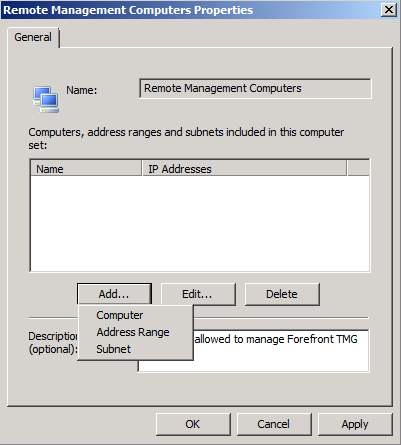
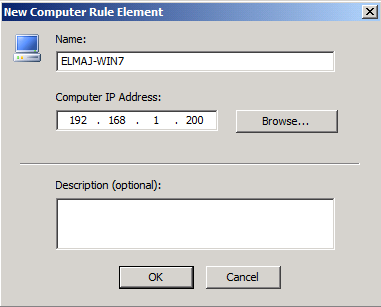
To add the IP address of the machine you want to remotely manage TMG from, click on the Add… button and then select Computer, type the name of the machine and the IP address, then click on OK


The address of the client computer will be listed, click on OK to exit from the Remote Management Computers computer set properties.

-
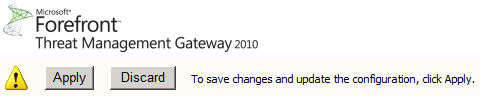
Click OK to exit the System Policy Editor, and then make sure you click on Apply to save the changes and update the configuration.

-
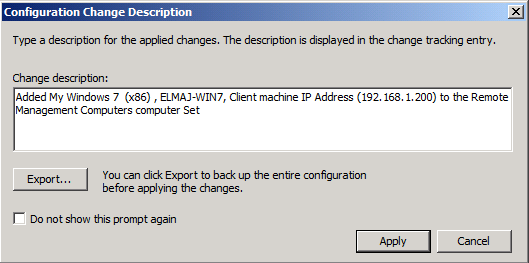
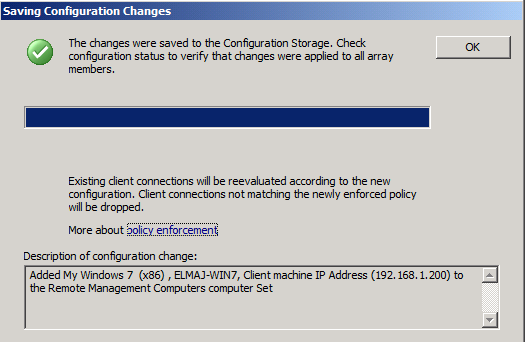
Type a description of the changes you have done and then click on Apply

-
Click OK once the changes are saved.


Summary
Although Forefront TMG 2010 is natively a 64 bit application, it can be managed from a 32 bit (x86) machine. You can download the x86 management console and install it on either Windows Vista or Windows 7.